
by JollyFrogger Diva

One of the most popular souvenirs from Walt Disney World has got to be the Mickey and Minnie ears hats and headbands. There are so many different designs and themes that it’s hard to choose just one pair. Due to the popularity of these items, there have been lots of shops pop up on the internet that sell custom made Minnie ears in hundreds of patterns and styles. I have always been a fan of the Minnie ears, but have never purchased a pair. Due to being so fair skinned and having such light hair, I really need to wear a hat whenever I plan to be out in the sun all day. This is particularly true at Disney World since I’m outside for multiple days in a row and nobody likes a sunburned scalp or face. The Mickey hats sold at the park are cute, but they don’t have any sort of bill to protect my face. In preparation for our upcoming trip, I decided to see if I could find a hat with custom Minnie ears so I could rock my ears while protecting myself. I was sad to learn that there are very few options out there for hats- most custom shops only sell the headband style ears. So I started researching how to make my own. I like to make my own things but my sewing skills are limited to hand stitching, so I wanted something easy that didn’t require the use of a sewing machine. After doing some research on the basic how-to method, I hit up the craft store to gather my supplies and put my do-it-yourself skills to the test. It actually ended up being fairly easy to do and I think it turned out really well. Here is a look at my method for those of you interested in making a pair of your own.
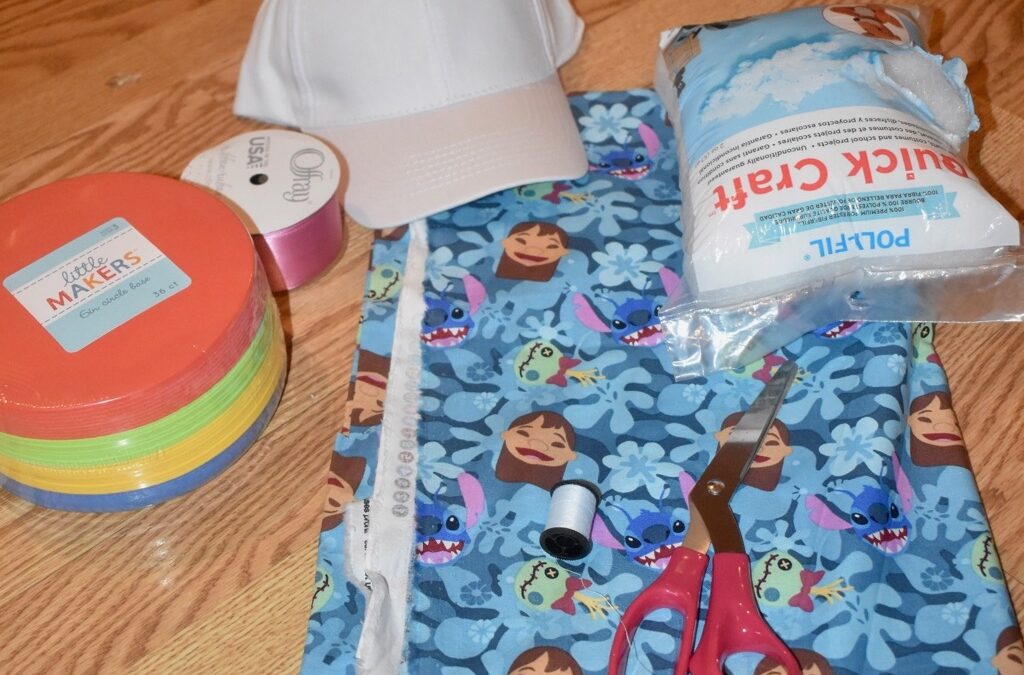
What you’ll need:
a hat
fabric (I bought a yard to allow myself plenty of extra for mistakes, but you could probably get away with 1/4 a yard)
a sewing machine/ needle and thread/ hot glue (depending on how you want to join your ears together)
ribbon or additional fabric for a bow
foam
batting or stuffing
a pattern or round object to make your ears

Step 1:
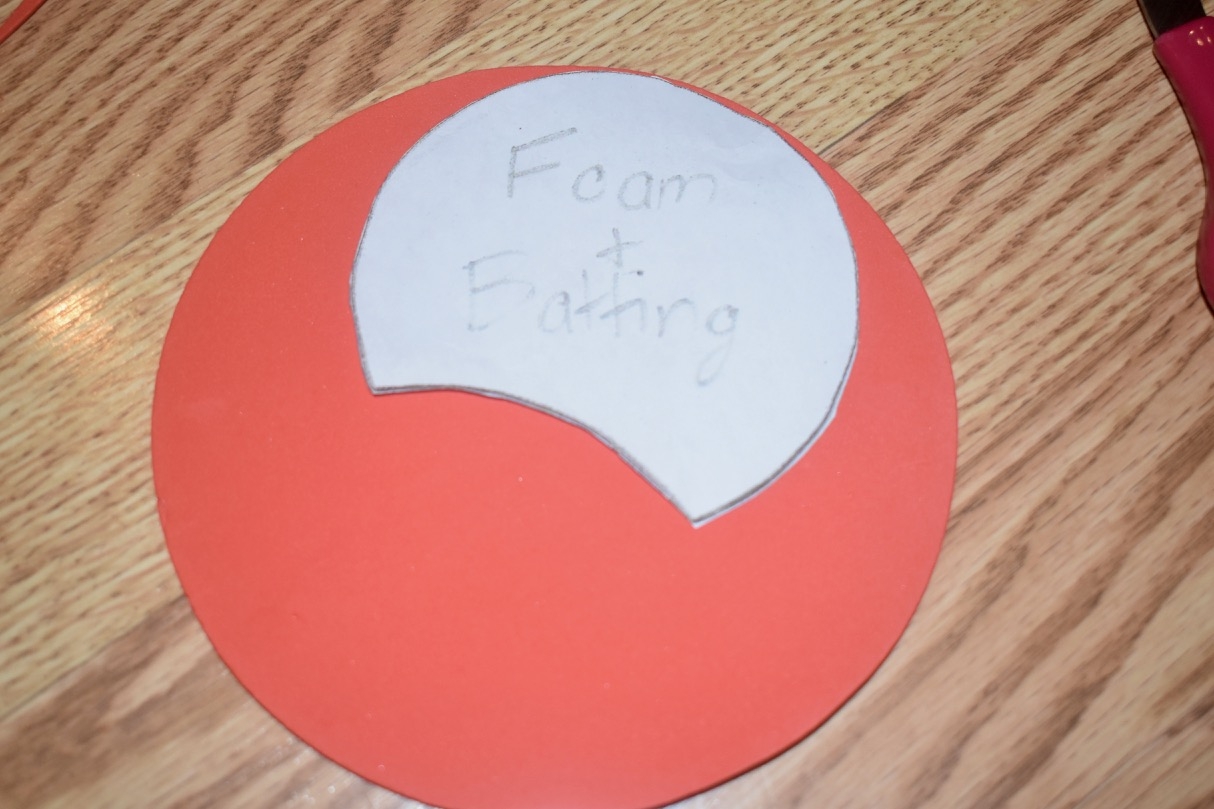
Select the pattern you want to use for your ears. You can find some online, but lots of tutorials I looked at used a large can or jar as a template. Originally I was going to use a Mickey ears hat that I have at home, but for sake of convenience I ended up using this pattern that I found online. If you’re making your own pattern, it’s important to note that you’ll actually need 2- the larger one to cut out the fabric, and then a smaller one (about 1/2″ smaller on all sides) to trace on your fabric to be your seam and to trace your foam. You’ll need to cut out 4 sets of the pattern to create 2 ears.

Step 2:
Once you have your fabric cut, it’s time to assemble the ears. First, pin two pieces of fabric together, with the patterns facing in. Then, glue or sew along the lines you traced with the smaller pattern. I chose to sew because I liked the finished look better, but you could certainly use glue. Do not close the bottom yet. You can use an iron to press your seam once you’re finished to create a sharper edge, but I skipped this step because I thought my edges looked fine. Once you’re happy with your edges, flip the ear inside out so that the pattern is facing out.

Step 3:
Now it’s time for the foam. I was able to find a stack of foam circles in the children’s area of my local craft store. They were a bit thin so I used 2 for each ear. I cut them out, rolled them up, and then inserted them into the ear. It took a little wiggling around and a little trimming at the bottom to get them where I wanted them.
Step 4:
Now it’s time to stuff the ears to give them a fuller appearance. I used a small bag of polyfill stuffing so I could pinch off small pieces and stuff the ears to my desired thickness, but you could use a sheet of batting and cut pieces using your smaller pattern if you prefer. Once you’re happy with the thickness of the ear, it’s time to sew or glue the bottom of each ear shut. I did have to do a little additional trimming of the foam to get them closed.

Step 5:
If you’re making Minnie ears, it’s time to make your bow now. You can do a single bow or a double- I chose a double because I liked the way it looked. You’ll want to take your ribbon and measure the length of the bow you want to make. Cut your ribbon to double your desired length. If you’re making a double bow, you’ll cut 2 strips. Fold the ribbon in half to create a crease in the middle. Put some hot glue on each side of the crease and fold each of the ends towards the middle to create your bow. If you’re doing a double bow, you’ll then glue the 2 bows together. Cut another small strip of ribbon, fold it in half lengthwise, and then glue it together. Wrap this around the bow you’ve created and glue it to the back to create the middle of the ribbon. Now you have your bow.


Step 6:
The final step is to attach your bow to your hat. Put a big dot of glue where you want the middle of the bow. I took it a step further and glued the edges of the bow to the ears as well, to keep the in place since I didn’t want the bow to cover Stitch on one of the ears.

Congratulations! You have now made your very own, custom ear hat! It’s so quick and easy to make one that you could make a hat for every outfit of your trip if you wanted to. If you’re reading this and you’re more a fan of headbands and want to make your own, check out Sleepy Diva’s tutorial here. Be sure to share your pictures with us if you make your own ear hat!

Do you need help planning your next trip so you can wear your new custom ear hat? Contact Patricia at All for Dreams Travel for a free quote.


How did you attach your ears to your hat?
I used a large line of hot glue to secure the ears to the hat and they have stayed on well. However, if you are skilled with a needle and thread, you could certainly sew them on.