

By Tinker Belle Diva
When I was a little kid, I had two food staples – Kraft Macaroni and Cheese and a grilled cheese sandwich. My love is cheese in all forms is well-known to my family and friends, so I was delighted when Disney released the recipe in April for the Grilled Three-Cheese Sandwich from Woody’s Lunch Box at Disney’s Hollywood Studios. We have also tried this recipe in many different ways, so I’ll tell you about the modifications we made to fit our tastes and our kitchen.
Click here for a printable version of the full recipe. The ingredient list is:

Preparing the cheese
Cream Cheese Spread
- 1/2 cup cream cheese
- 1/2 cup shredded Double Gloucester or cheddar
- 2 tablespoons heavy cream
- 1/4 teaspoon coarse salt
Garlic Spread
- 1 cup mayonnaise
- 1 1/2 teaspoons minced garlic
- 1/2 teaspoon coarse salt
Grilled Three-Cheese Sandwich
- 8 slices of artisan bread
- 8 cheddar cheese slices
- 8 provolone slices

Making the cream cheese spread
Now for a few comments on these ingredients. The menu at Woody’s Lunch Box calls for sourdough bread. We didn’t have any of that on hand, so we used an artesian golden wheat bread from Saralee.
For the cream cheese spread, we did didn’t have shredded Gloucester or cheddar. We did have a shredded Mexican cheese blend, so we used that.
We modified the garlic spread a bit. No one in my family is a fan of mayonnaise, so instead, we used melted butter. We started with a half cup of butter, but found we had a bunch left over, so we used 1/4 cup for all the other times we made it. Additionally, I used garlic powder as we didn’t have any fresh garlic to mince. We cut the amount of garlic powder down to 1 teaspoon, but we really like garlic. If you don’t, cut that down to 1/2 teasppon.
Finally, think about mixing and matching on your cheese slices too. We have used cheddar, provolone, Swiss, Monterey jack, and Colby-jack cheddar cheeses. There really is no wrong cheese to add this to sandwich, so use what you have in your refrigerator.
Here are the cooking instructions:
For Cream Cheese Spread:
- Combine cream cheese, Double Gloucester or cheddar, heavy cream, and salt in food processor. Blend until smooth. Set aside.
For Garlic Spread:
- Combine mayonnaise, garlic, and salt in small bowl and stir until blended. Set aside.
For Grilled Three-Cheese Sandwich:
- Lay out artisan bread slices on parchment paper or large cutting board.
- Place 2 slices of cheddar on 4 of the bread slices. Place 2 slices of provolone on remaining bread slices.
- Equally spoon cream cheese spread on slices with provolone. Gently smooth cream cheese spread over each slice.
- Press cheddar side and provolone side together.
- Heat a large skillet over medium heat for 5 minutes, until hot.
- Brush both sides of the sandwiches with garlic spread.
- Grill sandwiches for 2 minutes on each side, until cheese is melted and bread is golden brown.
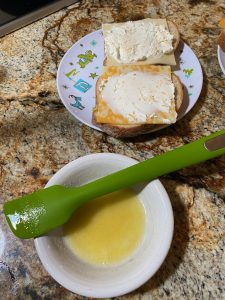
About to add the butter garlic spread

I have a few comments on the instructions based on what we learned over several creations of this sandwich. For the cream cheese spread, we just mixed it in a small bowl as we don’t have a food processor. The shredded cheeses mixes into the cream cheese, but it isn’t smooth as noted in the recipe. We didn’t think this detracted at all from the sandwich. Also, we thought that the amount of cream cheese across 4 sandwiches was too much. We cut this part of the ingredient list in half for future sandwiches and liked it better.
For the garlic spread, we used butter as described in the ingredient section. We melted the butter very slowly in a microwave safe bowl and then added the garlic powder and salt. We still brushed both sides of the bread with the garlic butter.
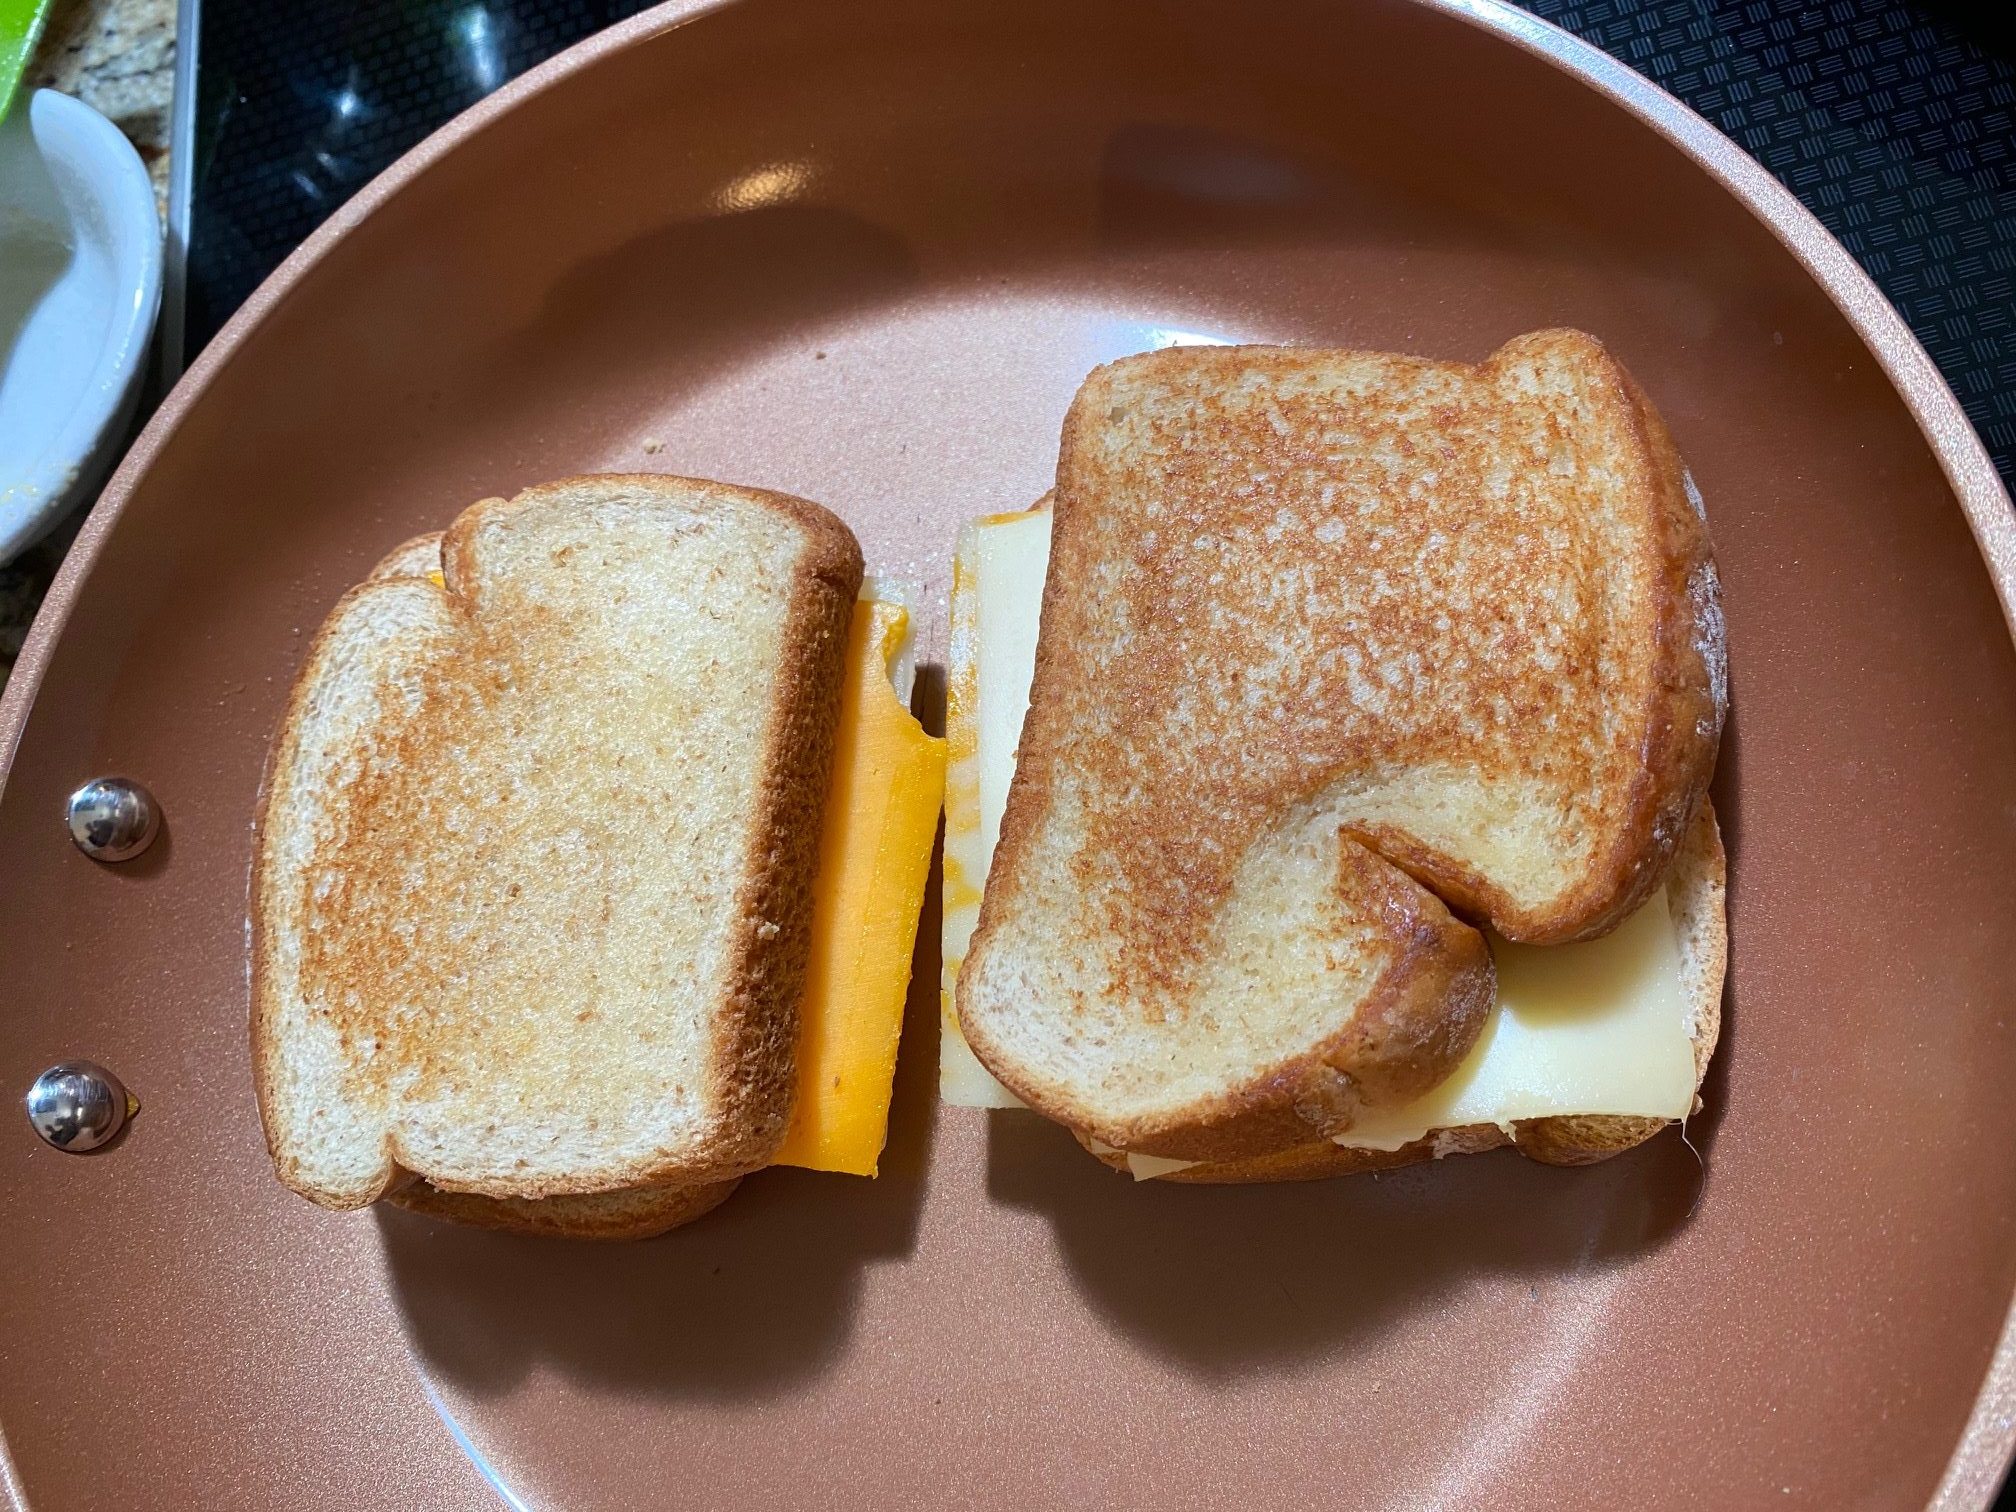
The most challenging part we had with this recipe was grilling the sandwich. The recipe calls for the skillet to be on medium heat and to grill for 2 minutes on each side until the cheese is melted and the bread is golden brown. We failed badly at this part. After two minutes, the bread was typically golden brown, but with this is a THICK amount of cheese slices and cream cheese spread, none of the cheese was melted and the cream cheese spread was still cold. So we kept cooking and you can probably guess that our bread was turning from golden brown to burnt fairly quickly. That meant we ended up with nearly black bread, cheese that was kind of melted and cream cheese spread that was still cold. We have an electric cooktop, so maybe if you have gas you’ll have better luck. What helped for us on all our other tries at this recipe was to turn the heat down a couple of marks below medium to slow the cooking process. It takes much longer than 2 minutes to melt that cheese and get the chill out of the cream cheese spread and a lower heat to keep from burning the outside. If the bread isn’t turning golden brown, turn the heat up after the cheese melts to brown the bread. You also could set the cream cheese spread aside a little longer after you make it to get the chill from the refrigerator out before you create the sandwiches. It is also possible that putting it in the food processor would help.
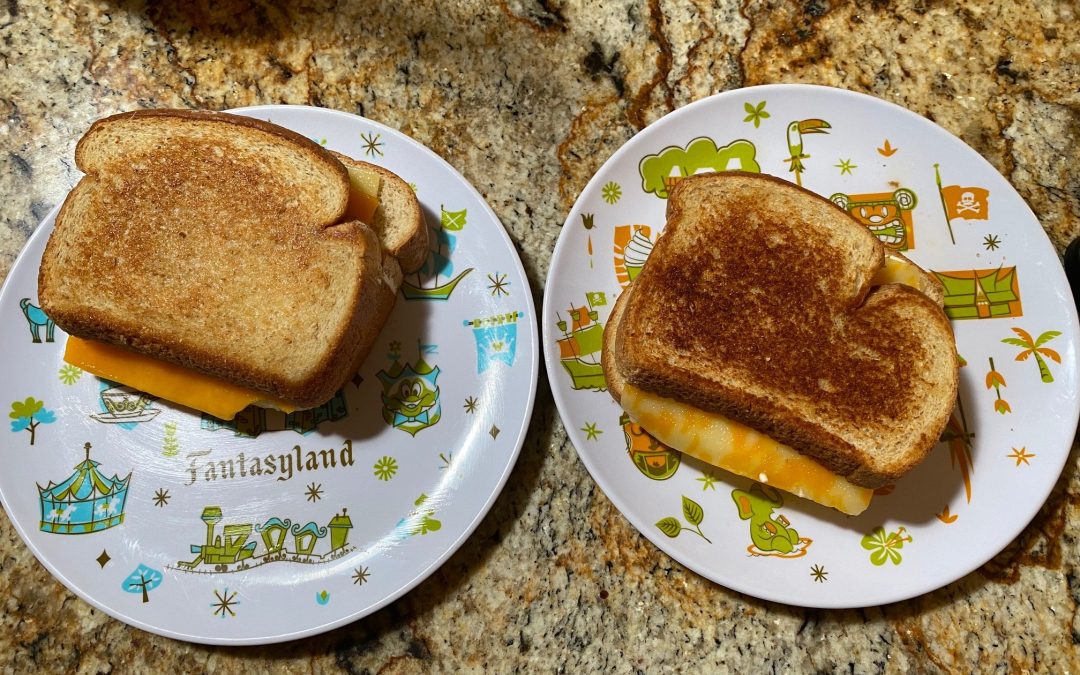
Someone likes their more golden brown than another
This has become one of our favorite recipes and we make it almost once a week. It is fast and a good one for the kids to help create for their lunch this summer!
The recipe does note that this was parred down from a large kitchen recipe, so I do think there is room to make adjustments to fit your taste and your kitchen. If you have made this recipe and have other suggestions on how to fix some problems you found with it, please leave a comment.
If you want to create a trip to try this sandwich at Walt Disney World, be sure to contact Patricia at All for Dreams Travel. She provides expert advice, and her service is FREE!
***Disclaimer – We at Tips from the Disney Divas and Devos hope you enjoy reading our articles and encourage you to share any you feel may be of interest to someone else. We do ask, however, if you choose to share the photographs attached to our articles, you give credit to the photographer. Thanks!


