

By Tinker Belle Diva

The Disneyland App in the Apple App store
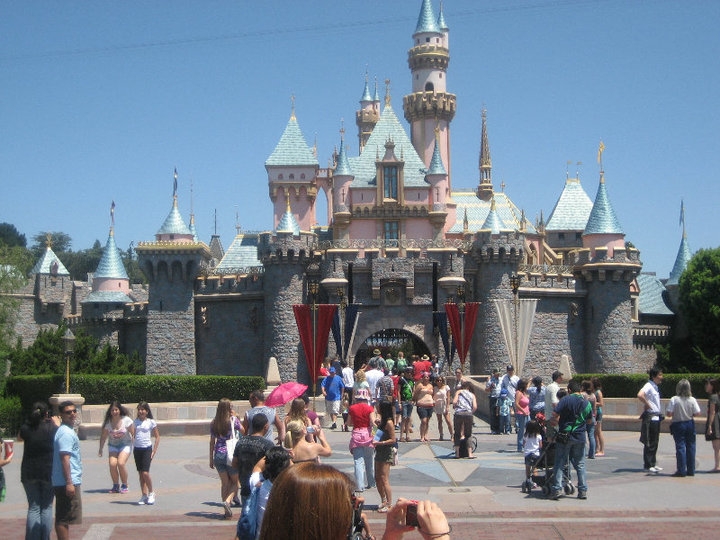
This coming spring, all of the performing arts students at our middle school are taking a trip to Disneyland. While there will be plenty of chaperones busily keeping track of them, they will be able choose which attractions to ride as well as where they want to eat. As the Disneyland App on your smart phone is one of the best ways to keep track of your plans during a trip, this article is about how to set up the App ahead of time and during their performing arts school trip to the Disneyland Resort. If you aren’t familiar with the Disneyland App, you can read my article about Four Reasons to Use the Disneyland App as well as Character’s Diva’s review of the App.
SET-UP PRIOR TO THE TRIP
Step 1 – Set up a Disney Account
The first step to setting up the Disneyland App is to create a Disney account if you don’t already have one. If you have created a Disney account for anything, like shopping on shopDisney, using Disney+, or any other Disney platform, you can use this same account and do not have to create one just for Disneyland. If you do not have one or want to create a new one, follow these steps:
- start at the Disneyland website
- on the top ribbon click on “Set up or Create Account”
- click on “Create Account” on the next page.
- Follow the prompts and you will have a log-in that you can use in the Disneyland App.
Step 2 – Download the Disneyland App
Next you will need to download the Disneyland App from your phone’s app store onto your child’s phone and on your phone if you would like to have it as well. Once it is downloaded, sign into the app using your Disney account. DIVA TIP – you can have multiple phones logged into the Disneyland App using the same account, which means you can do this setup on your phone and have your child log into the account on their phone later.
Step 3 – Decide if you will link a credit card
From here, you have a choice to make if you want to connect a credit card to the account. In your account page, click on “My Profile”. At the bottom of the next page is the option to add a Payment Method. Two of the main reasons why you may want to add a payment method is to allow your child to purchase MaxPass or to use the mobile ordering feature at the quick service restaurants. I’ll cover what MaxPass is first.
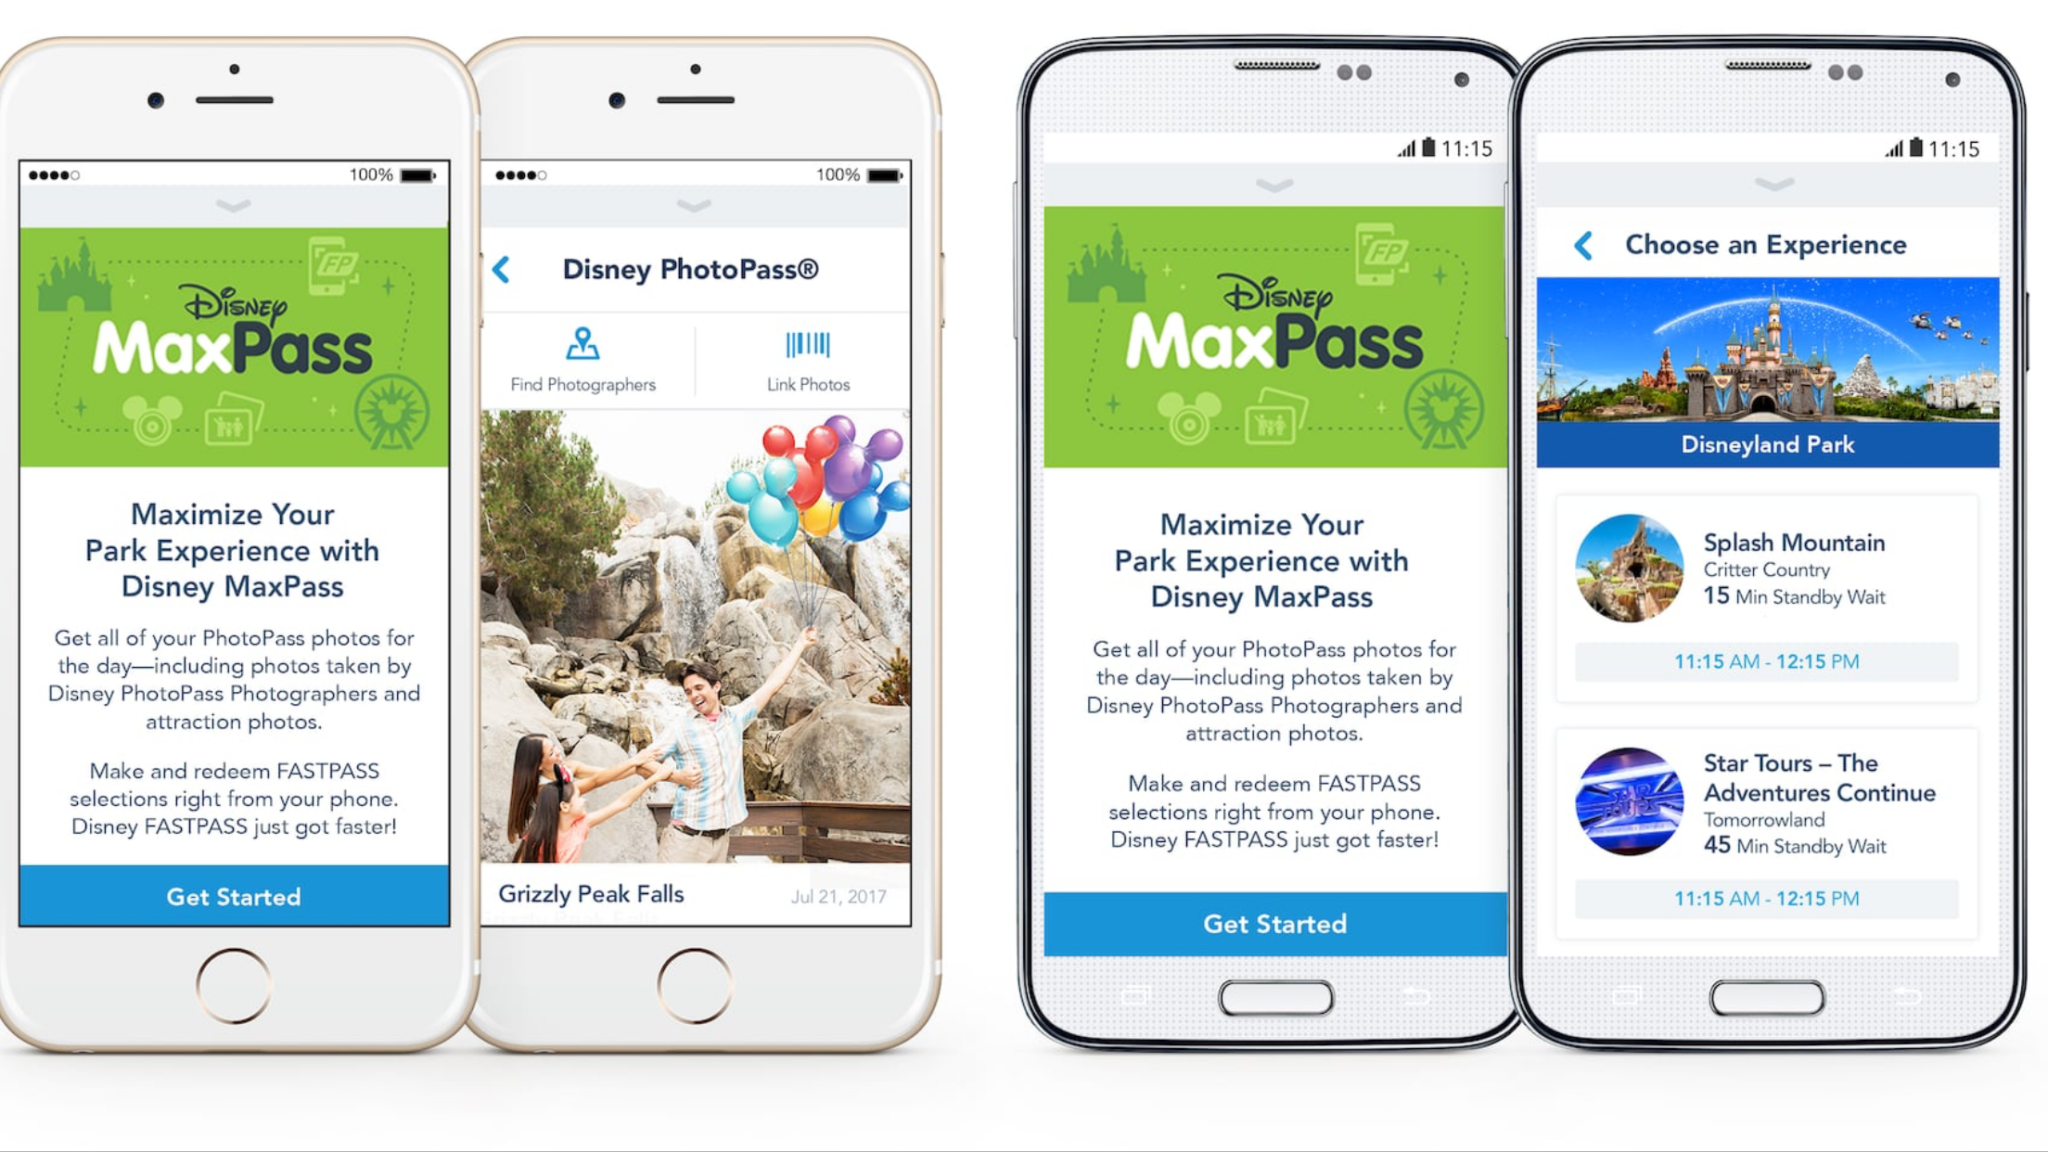
Disney MaxPass (photo by Disney)
MaxPass is feature that is added to your park tickets (current price is $15/person/day) that allows you to book FastPasses from your phone without having to go to a kiosk at the attraction and also provides you with unlimited PhotoPass digital downloads, including ride photos, for each day that you purchase it. I wrote an article about when you should or shouldn’t buy MaxPass, but its main benefit it that it will save you time on busy days getting on the attractions that offer FastPass. It also allows you to book a FastPass in the other park if you have a ParkHopper ticket, so you can be in Disneyland and book a FastPass for an attraction at Disney California Adventure park. I would suggest that you budget adding this to your child’s experience since they will be limited in the time they have to ride attractions as they will be performing on their school trip. The only ways for your child to purchase MaxPass is through a linked credit card in the Disneyland App or by waiting in line a ticket booth to add it to their ticket. Since waiting in line at a ticket booth can easily be a 30+ minute wait versus a couple of minutes to purchase it in the Disneyland App, it is a great reason to link that credit card.

Ordering Dole Whip through mobile ordering
Mobile ordering is just like what it sounds – you order your food/drink at the restaurants listed here ahead of time via the Disneyland App, and then pick up the food/drink at a special mobile ordering window at that restaurant. This also can save valuable time during your child’s visit and avoid long waits at popular dining locations. The other benefit is that your child will not need to bring extra cash or debit/credit cards along on the trip for food that can be purchased through the mobile ordering system. Of course, I suggest discussing the food budget with your child ahead of time if you link the credit card as there will not be a limit to what can be purchased via mobile ordering. If your child is going to purchase items from carts, like popcorn or churros, they will need cash or a gift card for those items as they are not available via mobile ordering.
Now that you have the account set up and the credit card linked if you so decide, that is all you need to do ahead of your child’s trip. The next few steps are for your child once they are at Disneyland.
SET-UP ONCE AT DISNEYLAND
Step 1 – Link the ticket to the Disneyland App
Once they have their paper ticket, the next step is to link their ticket to the Disneyland App. Linking the ticket has a few great benefits, and one of the best is that if the paper ticket is lost, it is much easier to have a new paper ticket provided for you at a ticket booth if you have the ticket linked in the App. But it is also is required to have the ticket linked if your child is going to purchase MaxPass. To link the ticket:
- go to the home page of the Disneyland App
- scroll down to the image of tickets that reads “My Tickets” and click here
- in the upper right, click on the “+” sign,
- click the bar code that reads “Link Tickets & Passes”
- scan the bar code on the back of the ticket and type in your name
- click “save’ and you are done.
Your child can now use the ticket in the App for entry into the park and for scanning in when they return for their FastPass time.

Use the 8 digit code on the ride photo to link it to PhotoPass
Step 2 – Purchase MaxPass
If your child is going to purchase MaxPass and a credit card is linked to the account, this can be added once the ticket is setup in Step 1. Click on the MaxPass link on the home page and follow the steps to add MaxPass to the ticket using the linked credit card. Your child can now select a FastPass return time for any eligible attractions, as well as link any ride photos or PhotoPass location photos. To link a ride photo:
- view the photo at the end of the ride and note the code that starts with a letter and is followed by 7 numbers
- enter the code at the link on the home page for “Link Photos”
It may not be instant, but the ride photo will show up under “My Photos” in the Disney PhotoPass section of the App. I have waited hours and in one case an entire day waiting for ride photos to link, so don’t be discouraged if your photo doesn’t show up immediately. Once the photos are in the “My Photos” section, you can edit them, save them to your phone, or share them.
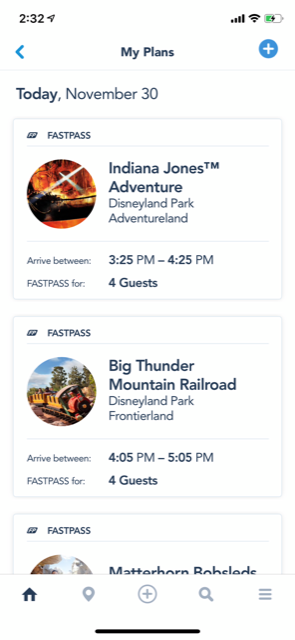
You can have multiple FastPasses and view them in the Disneyland App
If you are not purchasing MaxPass, your child can still link photos and pay for them individually after returning from the trip. Without MaxPass, your child will also need to keep the paper ticket available as it will need to be used at the individual ride kiosks for selecting a FastPass as the paper ticket must be inserted into the slot on the kiosks. When returning to a ride to validate entry into the FastPass line, either the ticket linked in the Disneyland App or the paper ticket can be used.
Linking the ticket to the Disneyland App also will allow you child to view upcoming plans, such as their next FastPass. This feature is available with or without the purchase of MaxPass.

Do you really want to wait 3.5 hours for the Haunted Mansion?
WARNING. The Disneyland App will be a big drain on your child’s phone battery, especially if they have an older phone. If you use it anywhere near as much as we do, you will want to pack for your child a portable battery and charging chord. Disneyland does sell portable phone chargers at their kiosks for $30 if you do end up forgetting to pack one.
Step 3 – Use the Disneyland App!
Using this App is a great way to view attraction wait times and status, so if Incredicoaster is temporarily down, you can see that in the App and avoid walking all the way there to find it closed. There are several drop down menus in the App to help with locating bathrooms, finding when your favorite character will be available for a meet and greet, or viewing the entertainment options to view shows and parades.
Hopefully these tips will help your child have a more enjoyable time at the Disneyland Resort. If your child has been on a recent school trip and you have more tips about using the Disneyland App, please add them to the comments!
***Disclaimer – We at Tips from the Disney Divas and Devos hope you enjoy reading our articles and encourage you to share any you feel may be of interest to someone else. We do ask, however, if you choose to share the photographs attached to our articles, you give credit to the photographer. Thank you for your cooperation and sharing our love of Disney!


