
by Disney Magic Diva
 If you’re like many of us here at Tips for the Disney Divas and Devos, you wish you could be at a Disney Park. But with travel difficult now, we have to find ways to celebrate Mickey at home. Thankfully Disney has been helping us get our Disney-fix with #DisneyMagicMoments. The Disney Parks Blog has been periodically publishing recipes, crafts, and activities we can do at home until we can get back to our favorite Disney Park. Recently they published step-by-step instructions for making your own tie-dye Mickey shirt.
We made a tie-dye Mickey pillowcase once as part of the activities offered at a Walt Disney World resort, but I’d never made a tie-dye project at home. It sounded simple enough, though, so we decided to give it a try. We had a ton of fun and learned a few lessons. Here’s our story:
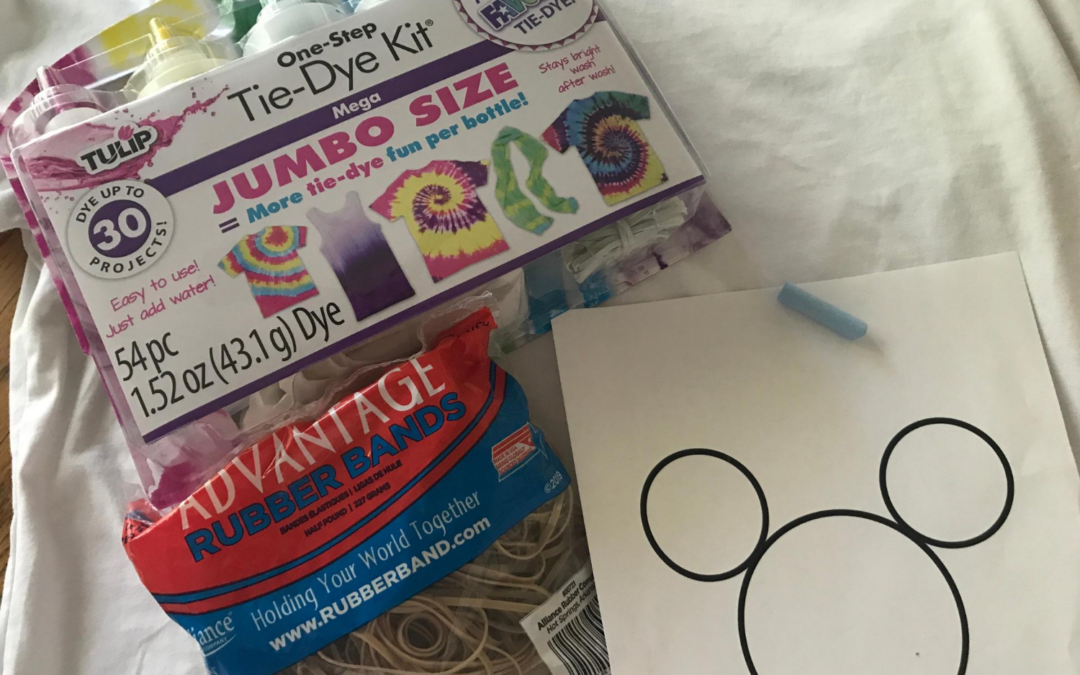
Supplies
- Squeeze bottles of dye
- Rubber bands
- Clear or white rubber gloves (A tie-dye kit will have dye, squeeze bottles, gloves, rubber bands and directions.)
- White t-shirt or whatever you’d like to tie-dye (pre-washed)
- Chalk
- Plastic tub
- Wire rack
- Pan to place wire rack in
- Saran wrap
- Ziploc bag big enough to hold your shirt
- Paper towels
- Scissors
I checked Amazon and found this tie-dye kit. There are dozens of kits available with many different color combinations so you can find your favorite.
Diva Tip: Shop around for the best price! This same kit was about 30% cheaper at my local Walmart. We were able to do 4 shirts with this kit, and barely used half the dye.
I also bought a packet of soda ash tie-dye enhancer. It supposedly makes the colors brighter. Since it was relatively inexpensive, I decided I’d try it. We had all the other supplies on hand at home.
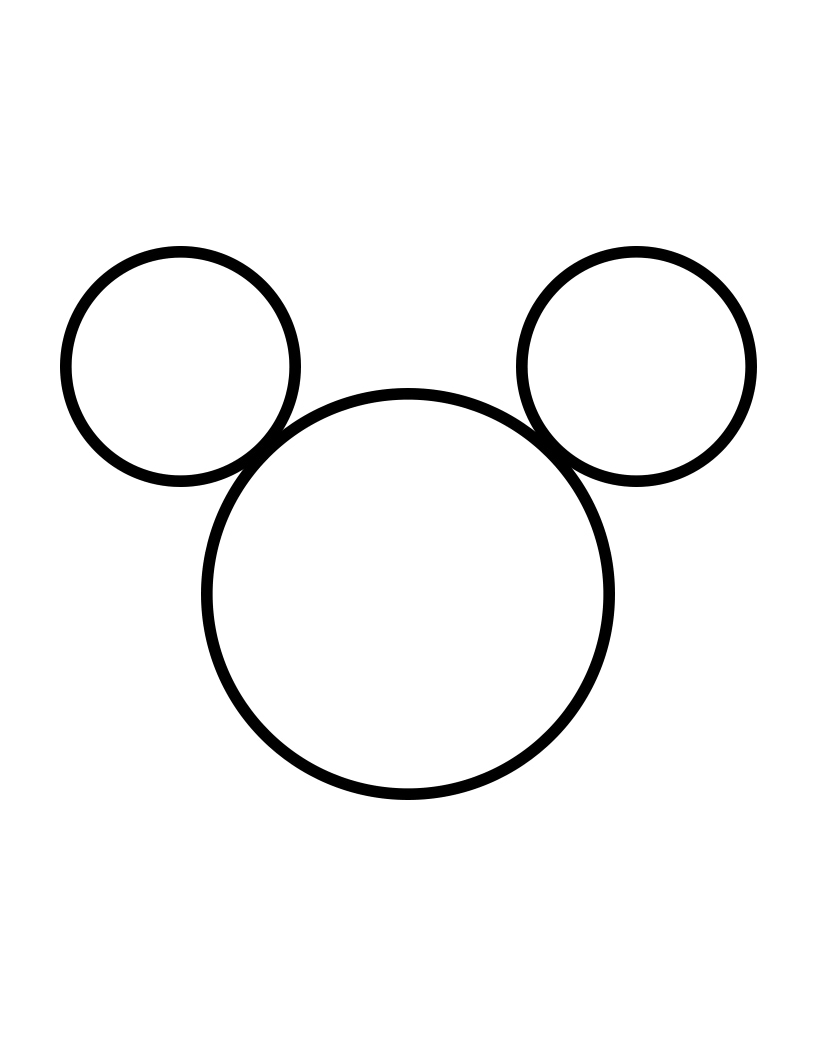
Make your pattern

Outline the Mickey pattern with chalk
Once you have all your supplies, you’ll want to make your Mickey pattern. Disney sprinkled us with pixie-dust and included a printable pattern in their post. All you need to do is print it, then decide if you want to adjust the size. I just used the standard size but depending on the shirt you may want to enlarge or reduce the image so it fits well on your shirt.
Once you have an appropriately sized image printed, slide it inside your shirt. Find the place you’d like it to be and use the chalk to trace the Mickey. Remove the pattern.
Tie
Really, it’s “band,” not “tie.” Starting with the Mickey ears, pinch just the top layer of the shirt in the middle of one ear circle. Place a rubber band around it so the band is on the chalk line. Keep twisting and banding until it’s tight. Do the same with the other ear and head.
Continue banding the shirt about every 2 inches as far down as you’d like. If you want more solid color or white at the bottom of the shirt, you can leave it un-banded.
Soak your shirt
Once you have as many bands as you want, you need to soak your shirt in water. Fill your plastic tub with a gallon of water (and the soda ash packet if you choose to use it). Then place your banded shirt in the tub and let it soak for 20 minutes.
Prepare dye
While your shirt is soaking, you can prepare your dye. The squeeze bottles in the kit are already filled with powder dye. Just fill with water to the line on the bottle and shake vigorously. This takes a little time, and you should wear gloves in case some of the dye happens to spill. (Seriously, this is important! Trust me!)
Diva Tip: Don’t prepare your dye too early. It’s really only good for a day or two, so while it’s feasible to prepare the dye ahead of time, be sure it’s not too soon. Dye that has been sitting for longer won’t be as bright.
Dye your shirt
Now for the fun!! Be sure to wear gloves!!
Set the wire rack inside a pan. This will catch any dye that drips, so I’d recommend using an old pan. Tear off a sheet of saran wrap big enough to wrap your shirt inside. You’ll need this when you’re done dyeing your shirt, and by then your gloved hands will be covered in dye. You’ll be glad you have your saran wrap ready to go. It’s also a good idea to have your Ziploc bag and paper towels ready.
Take your shirt out of the tub and squeeze out as much water as possible. Place your shirt on the wire rack. Decide what color you want your Mickey (Disney Parks blog recommends a darker color), and squirt dye on the banded ears and head. Be sure dye gets into any folds. Continue using whatever colors you like to dye each banded portion.
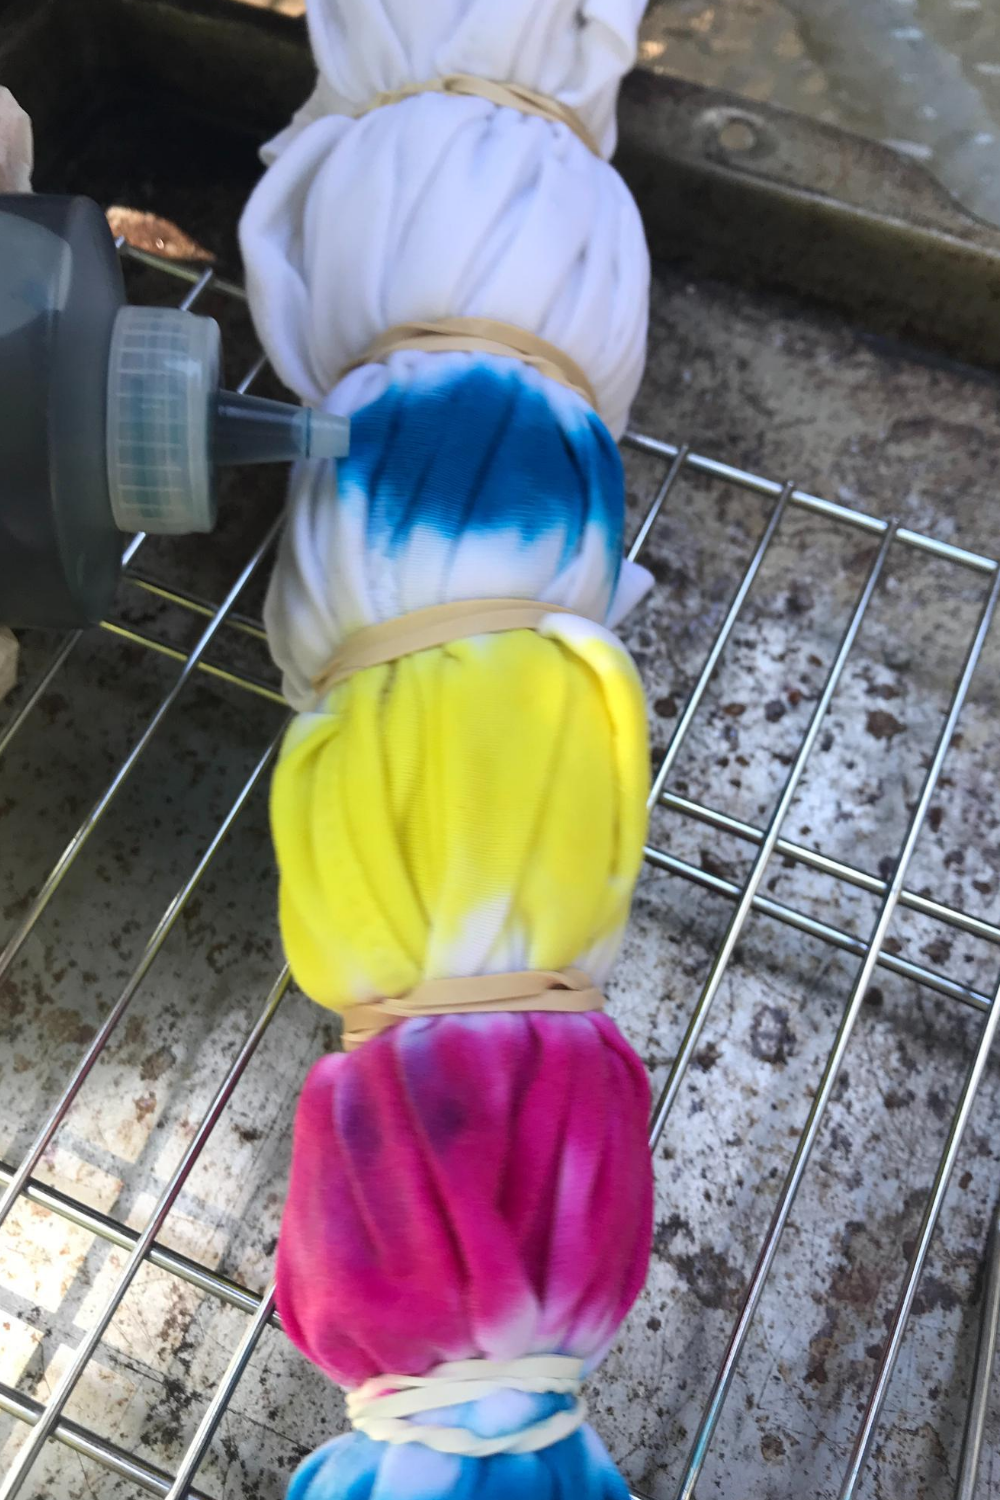
Drip the dye in the center of the two rubber bands
Diva Tips:
For dyeing the Mickey, we found it worked best to drip the dye close to the band, and let it soak down to the tip of the cloth. For the other sections, we dripped the dye in the center of the two bands, then let the dye soak outward to each band. This seemed to help the colors not bleed together too much.
After dyeing each section, use paper towels to wipe the wire rack AND the tip of the bottle. The bottle tip sometimes touches other dyed sections and gets tainted with different colors. Likewise, the dye can stick to the wire rack, and your shirt will pick up colors from it. To avoid cross contamination of colors – WIPE!
The gloves that came with the tie-dye kit were thin, huge, white gloves. Think Mickey hands! We chose to use our own heavier gloves which fit better and happen to be blue. This was a mistake! The blue from the gloves bled onto the shirt. I’m not sure why this happened, but we switched to the white gloves as soon as we could.
When you’re finished dyeing, wrap the shirt in the saran wrap sheet, and place it in the Ziploc bag. Then the waiting begins. Set the bag aside and wait at least 24 hours. Longer is better. We waited 3 days.
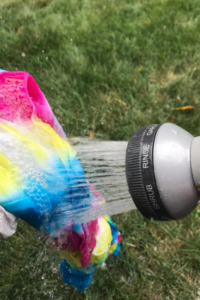 Rinse
Rinse

Put on another set of gloves and unwrap your shirt. Carefully cut the rubber bands. Rinse out all the dye until the water runs clear. You may want to do this outside with a hose to prevent the dye from staining your sink. If outside isn’t a possibility, you can rinse it in a sink or bathtub. Just be sure to clean up immediately to prevent any possible staining.
Wash
When your shirt is thoroughly rinsed, wash it separately in your washing machine. After the first wash, it will be fine to launder with other similarly colored clothing.
Show your DisneySide!
Now it’s time to proudly wear your tie-dye Mickey shirt! If you can’t be on Main Street U.S.A., at least you can feel a little closer to some Disney vibes with your awesome new shirt! We’d love to see your shirts! Share with us in the comments below!
And when you’re ready to return to the parks, be sure to contact Patricia at All for Dreams Travel for expert FREE advice and all the best deals for booking your trip.
***Disclaimer – We at Tips from the Disney Divas and Devos hope you enjoy reading our articles and encourage you to share any you feel may be of interest to someone else. We do ask, however, if you choose to share the photographs attached to our articles, you give credit to the photographer. Thank you for your cooperation and sharing our love of Disney!


I love this! This is a super cute project to do with my sisters at home and we can wear them to Disney on our next trip there. Thank you for sharing this!
Grislean | gemlesschosen.com